A Beginner’s Guide to Using Non-Shrink Grout for Repairs
If you’ve got cracks in concrete, foundations needing repair, or gaps that demand precision and strength, you might have come across something called non-shrink grout. It’s a highly versatile material perfect for various repair jobs, ranging from filling gaps under baseplates to reinforcing structural elements. But what exactly is non-shrink grout, and how can you use it effectively as a beginner? This guide has got you covered.
What is Non-Shrink Grout?
Non-shrink grout is a cement-based material specifically designed to maintain its volume after application and curing. Unlike traditional grouts, which may contract or crack over time as they dry, non-shrink grout ensures a reliable, gap-free finish. Its strength and durability make it popular for tasks that require long-term stability and structural integrity.
Key Characteristics:
- High Strength: It can bear heavy loads, a must-have for industrial and structural applications.
- Non-Shrink Properties: Maintains its form without cracking or contracting once set.
- Versatility: Works equally well in both indoor and outdoor settings.
- Ease of Application: While it requires careful preparation, applying non-shrink grout is beginner-friendly once you understand the steps.
Why Use Non-Shrink Grout?
Non-shrink grout is widely chosen for:
- Repairing Cracks: Perfect for sealing and strengthening cracked concrete or masonry.
- Anchoring Bolts and Fixtures: Provides a stable base for heavy machinery or structural components.
- Filling Gaps: Commonly used to fill voids under baseplates or between precast units in construction projects.
- Ensuring Durability: It outperforms regular mortar or grout in applications demanding long-term reliability.
Simply put, if your project requires precision, stability, and durability, non-shrink grout is a solid choice.
How to Use Non-Shrink Grout (Step by Step)
Using non-shrink grout isn’t complicated, but following the correct steps is essential to ensure success. Here’s a beginner-friendly guide:
Step 1: Choose the Right Grout
Not all non-shrink grouts are created equal. Check the product label and ensure it’s suitable for your specific task, whether you’re tackling repairs, filling gaps, or anchoring bolts. Consider factors like:
- Compressive strength requirements
- Application temperature range
- Set time
Step 2: Prepare the Area
Proper preparation is key.
- Clean the Surface: Remove any dirt, dust, grease, or loose debris from the area.
- Wet the Surface: Dampen the area slightly to prevent the grout from drying out too quickly, but avoid water pooling.
Step 3: Mix the Grout
Follow the product’s instructions carefully.
- Use clean water and a mixing container. Slowly add the grout powder to the water while stirring.
- Aim for a smooth, lump-free consistency. Avoid over-watering, as this can weaken the grout.
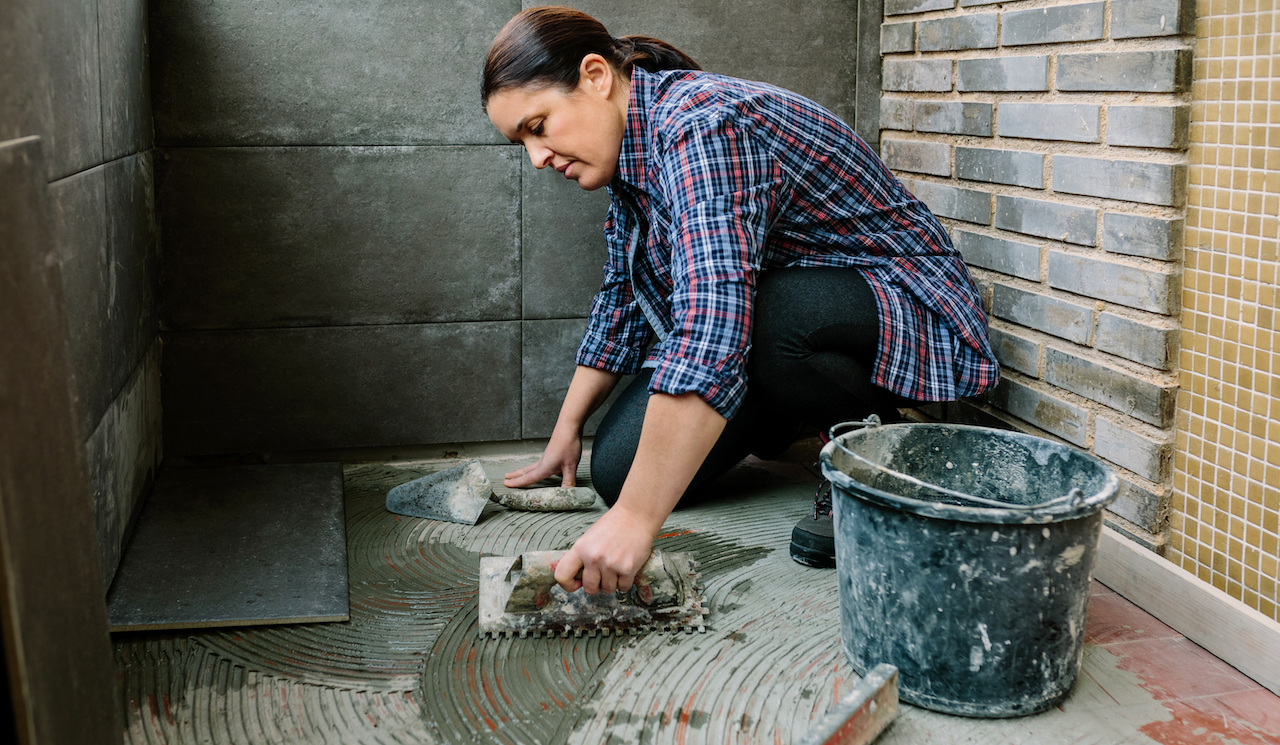
Step 4: Apply the Grout
Once mixed, you’ll need to work quickly because non-shrink grout begins to set fast.
- Use the Right Tools: Depending on your project, you may need a trowel, scoop, or grout bag.
- Fill the Space Evenly: Make sure the grout flows into all gaps and voids without leaving air bubbles.
- Compact the Grout: Press it firmly into place for maximum strength and durability.
Step 5: Finish and Clean
After application:
- Smooth the surface with a trowel or damp sponge for a clean look.
- Immediately clean off any excess grout or spills with water before it sets completely.
Step 6: Curing
Proper curing is critical to ensure the grout achieves its maximum strength.
- Keep the area moist by covering it with a damp cloth or lightly misting it with water for the time specified in the product instructions, typically 24-48 hours.
Tips for Success
- Read the Instructions: Always follow the specific guidelines on the product packaging.
- Work Quickly: Non-shrink grout sets fast, so don’t mix more than you can apply within the working time.
- Wear Protective Gear: Use gloves and safety glasses to protect your hands and eyes during the process.
- Practice First: If you’re completely new, try applying the grout to a small, less visible area to get a feel for it.
Common Mistakes to Avoid
- Using the Wrong Product: Non-shrink grout may not be suitable for every application. Check the requirements of your project before purchasing.
- Skipping Surface Preparation: Failing to clean and dampen the area can lead to poor adhesion and reduced durability.
- Overwatering the Mix: Weak grout is often the result of adding too much water during mixing.
- Ignoring Curing: Proper curing ensures the grout achieves its structural strength. Don’t skip this step!
Wrapping Up
Non-shrink grout is a reliable and versatile material for repairs, anchoring, and construction tasks. With the right preparation, mixing, and application, even beginners can achieve professional-quality results. Whether you’re filling cracks in concrete or anchoring heavy bolts, non-shrink grout provides strength and stability that lasts.